
Creating a Simple View with Tableau Desktop
The basis of any Tableau view is the data source.
Now that a data source has been created the following steps outline how to author a simple view.
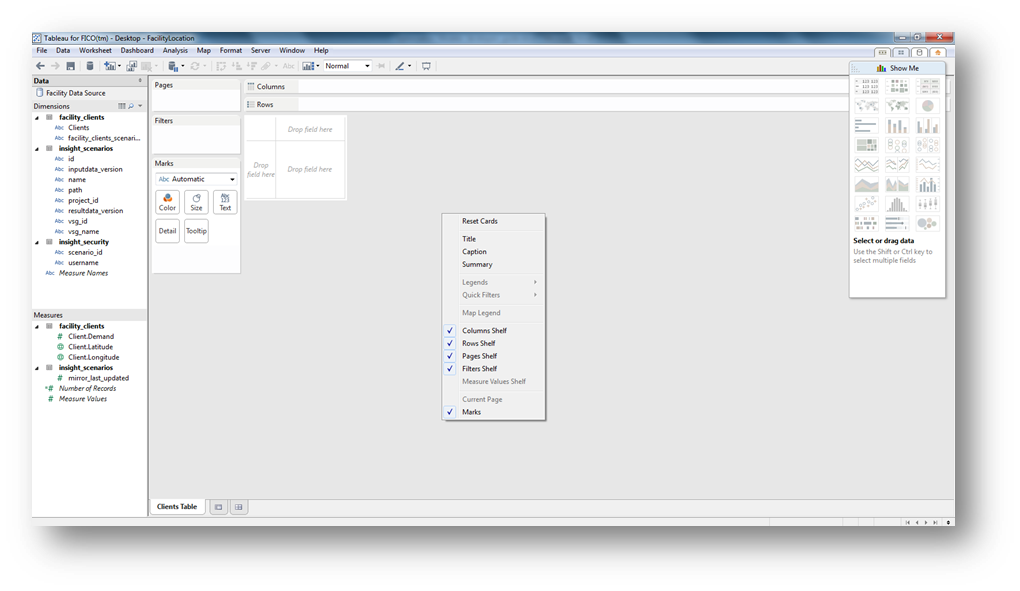
- Add a title to the blank view by right clicking on view area. A context menu appears.
Creating a Simple View
- Select Title from the context menu.
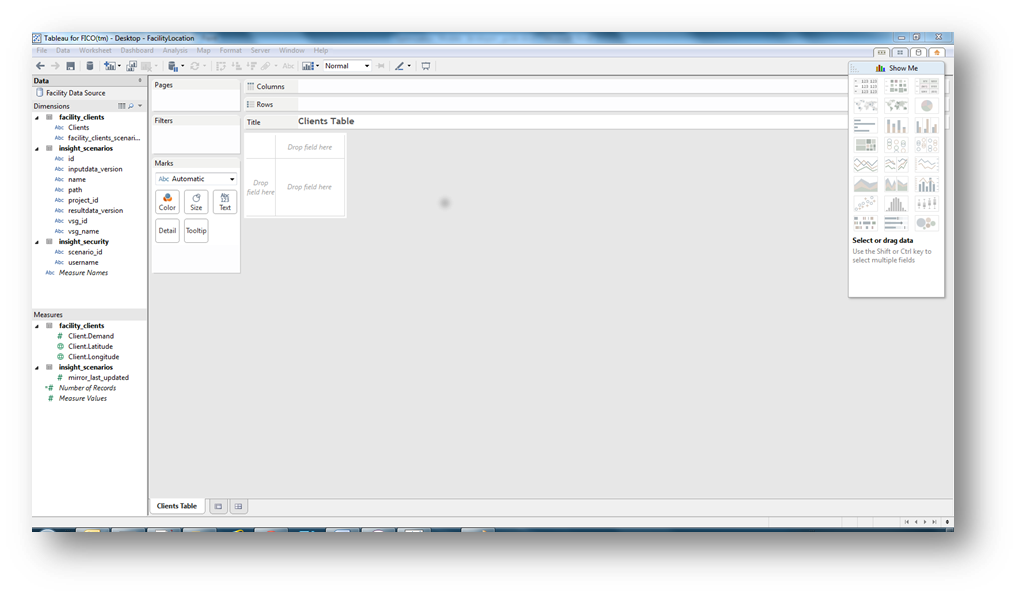
Clients Table
- Populate the rows of the table by dragging the Clients entry from the Dimensions pane, located on the far left hand side of the window, to the Rows area.
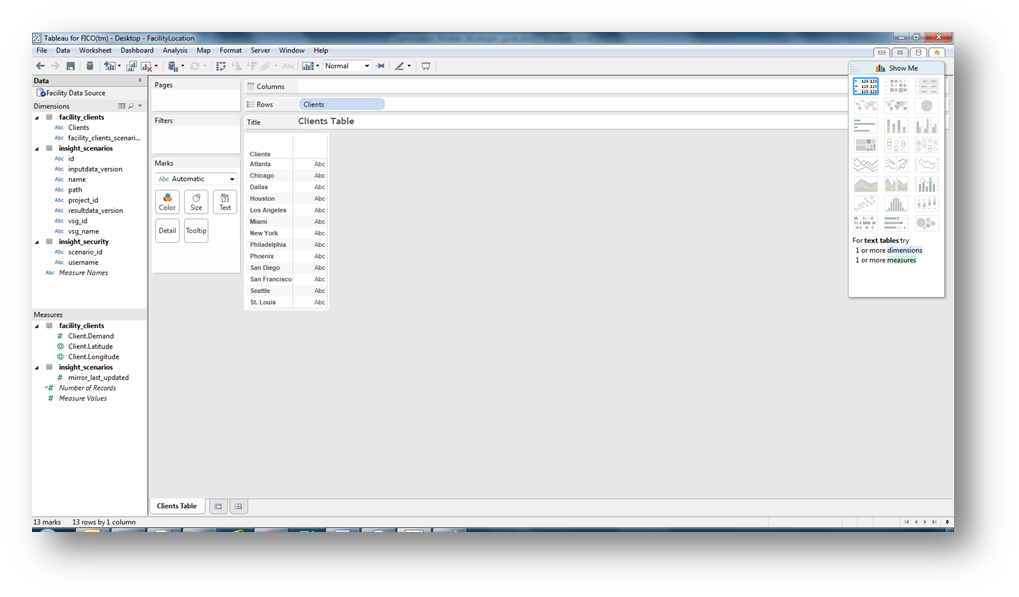
Populating Table Rows
- Populate the columns area of the table by dragging the Client.Demand entry from the Measures pane, located on the far left hand side of the window, to the text icon located in the Marks pane.
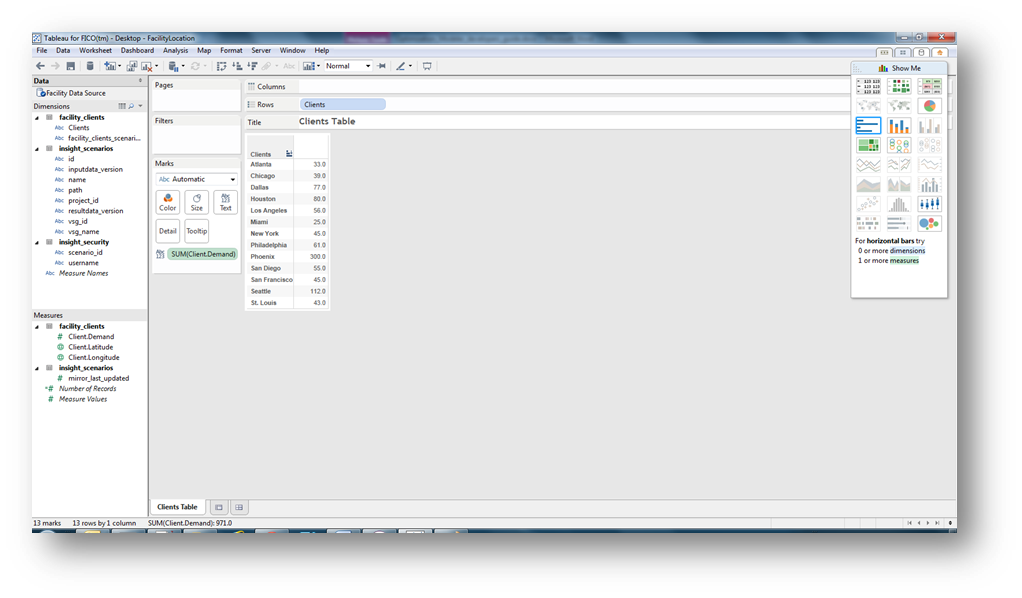
Populating the Columns Area
- Apply the scenario security filter onto the view. This is done by dragging the Scenario Id from the Insight Security table in the Dimensions pane into the Filter pane. The following dialog will be shown.
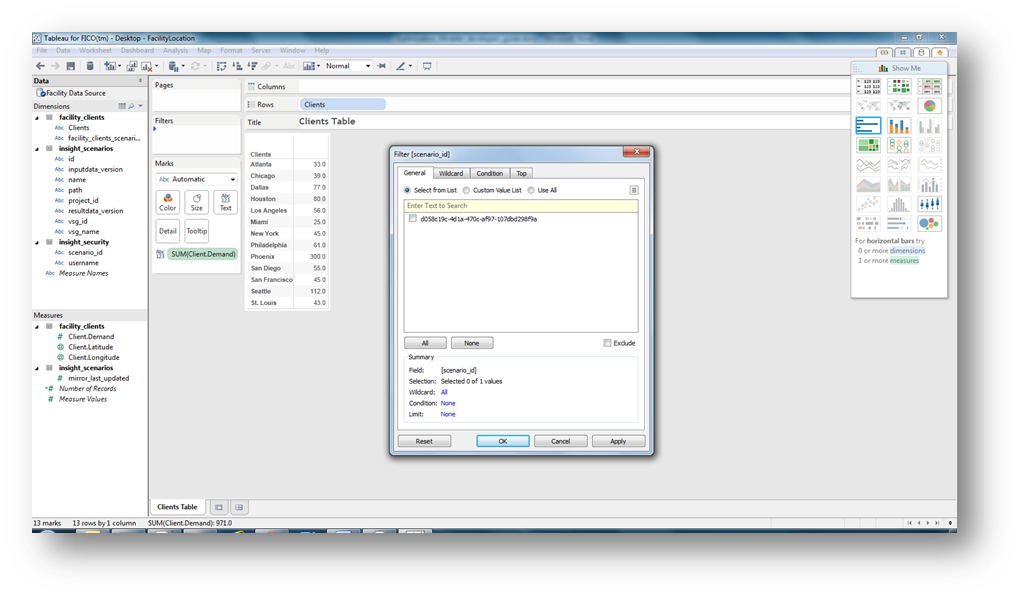
Applying the Security Filter
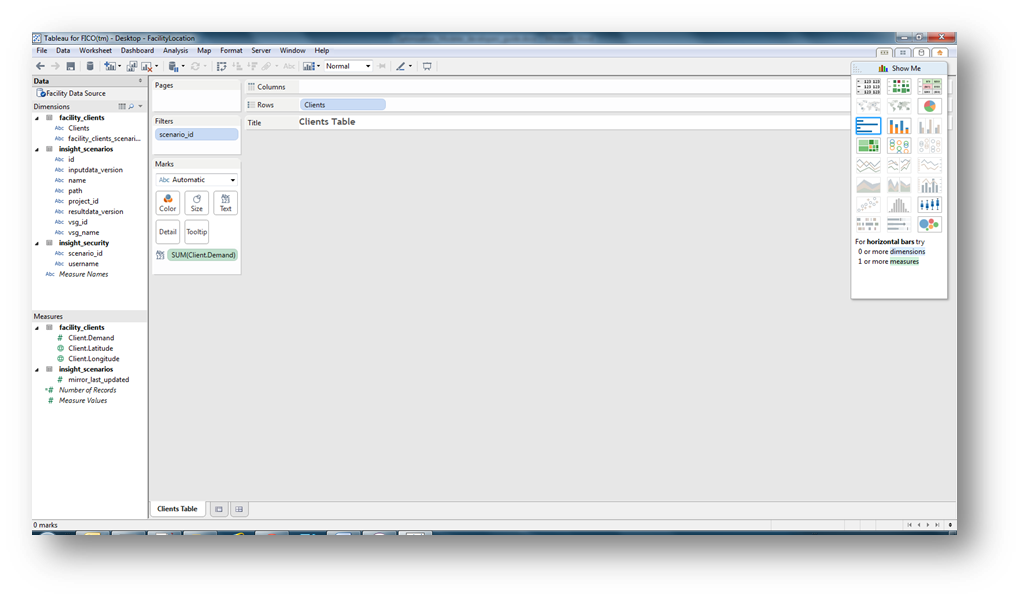
- Click OK. The data table will disappear. This is because the filter has been applied to the data and no scenarios have been selected. When a view is shown, the id(s) of the selected scenario(s) are added automatically to the call to show the view within the client.
Filter Applied
- Click Save. The Tableau view is now available to be published to the Tableau server.