
To Install Tableau Server 2018.2
To install Tableau, you must be logged in to the Windows machine with full Administrator privileges.
There are four stages to this process:
- Files are extracted to a specified location.
- Tableau for FICO is installed.
- Tableau for FICO is configured.
- Tableau for FICO is connected to Xpress Insight.
To install Tableau Server for FICO

|
Note Under some circumstances, you may need to install Tableau 2018.2, then run the included Tableau obliterate script to uninstall all artefacts from 2018.2 and any previous version of Tableau, before a full install of 2018.2 can be completed successfully. If this proves necessary, see the
Tableau support site for more on removing Tableau 2018.2.
|
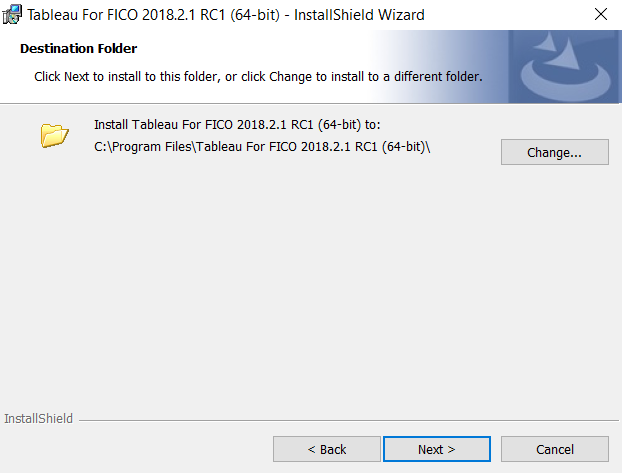
- Select the folder into which Tableau will be installed. Click Next.
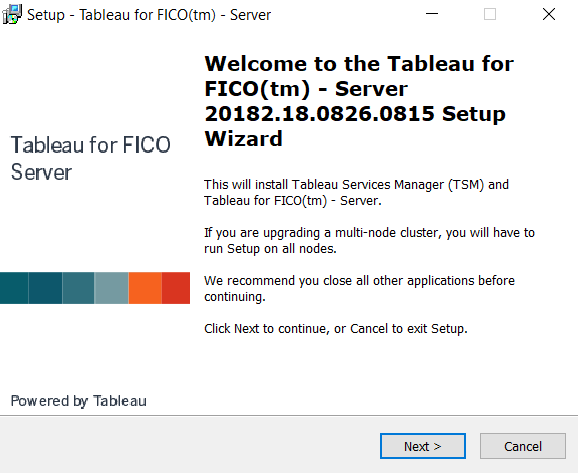
- The Tableau for FICO(tm) - Server installer setup opens. Click Next.
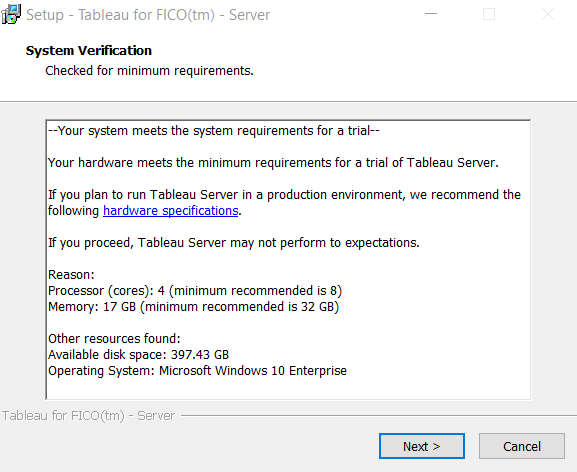
- The Installer checks the computer to ensure it meets the minimum specification required to run Tableau. Click Next.
- Select whether the process will create a new Tableau for FICO Server installation, or if this will be an additional node in an existing cluster to provide failover support for the file store and repository processes. For more on distributed tableau servers, see https://onlinehelp.tableau.com/current/server/en-us/distrib_requ.htm.

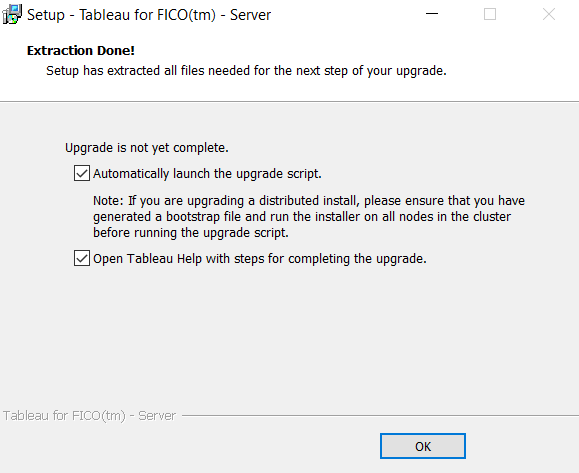
- When all the required files have been extracted, the following dialog is displayed. Select both check boxes and click OK.
- In the browser—Leave the InstallShield window. Use the browser to log in to Tableau Services Manager and activate the licence, set up users, and configure the connection port. You need Administrator rights for the machine on which Tableau Server is installed to set these values—this dialog requires the host computer administrator username and password values to change the settings.
- The next window enables configuration of user management and the connection port. There are four panes:
- Identity Store—The identity store manages Tableau Server accounts. You can configure the identity store to synchronize with an external user store directory (for example, OpenLDAP or Active Directory) or to manage and store accounts on Tableau Server(Local). Choose Local unless you will use Active Directory to authenticate users.For more, see the Tableau website.
- Run As Service Account—Tableau Server must run under a specific Windows account. The default Run As Service Account is a local account on the server. If the server needs access to resources on the network, you should specify a domain user account. For more, see the Tableau website.
- Gateway Port— Tableau Server defaults to allow web access (via HTTP) on port 80. If the installer detects port 80 is in use when you first install Tableau Server, an alternate port (for example 8000) is used and displayed in the Port Number box. You may choose to change the port if you have a hardware firewall or proxy in front of the Tableau Server host.
- Include Samples—Select the checkbox to include sample workbooks.

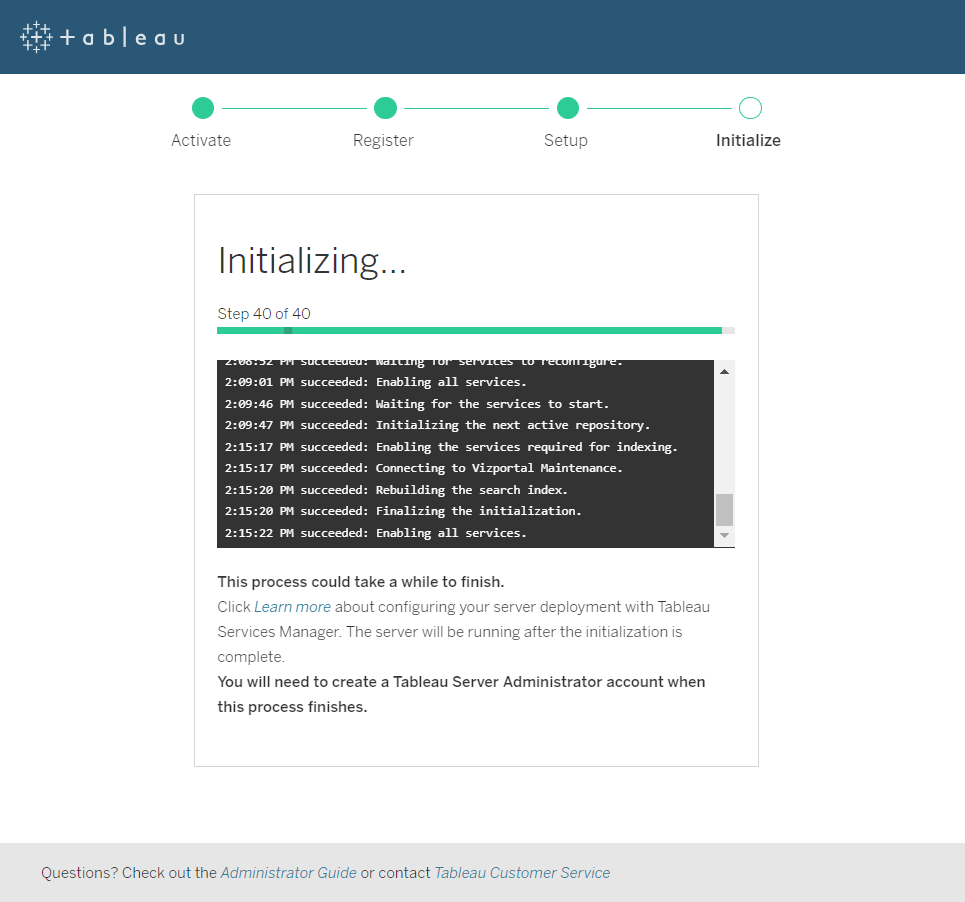
- When you are happy with your settings, click Initialize. The initialization process can take a while, the progress window displays the steps as they complete.
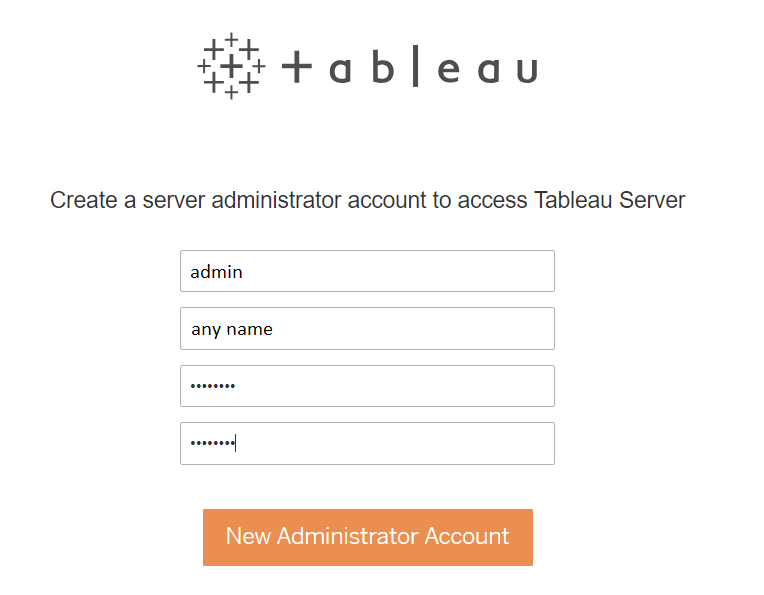
- When the server has been initialized, click Continue to create an Administration account—this is the account on the Tableau server, not an administrator on the host machine—this account accepts the connection from Xpress Insight. In the browser window, create an administrator account with the username admin and the password admin123.
- Click Next. In the subsequent window, select whether Xpress Insight Server is running on the same computer or not.
If you select separate machines, you will be prompted to enter all the IP addresses of the computer running Xpress Insight Server. These can be collected by running the file <installdir>/insight/server/config/getallips.bat from the Xpress Insight installation. This will open a console window with all the IP addresses of that machine, in a comma-separated list. This can be cut and pasted into (for example) an email or IM chat window, and sent to the Tableau installation.
If the addresses spill over into multiple lines, edit the line breaks out in a text editor before pasting them into the Tableau for FICO installer.
Note If hostnames are used in place of IP Addresses, be aware that Tableau only supports static IP addresses. If the IPv4 address changes, the Tableau configuration script should be re-run (see below).
Note Tableau does not support temporary IPv6 addresses. See the following Tableau Knowledge Base article details on how to detect and resolve this: http://kb.tableau.com/articles/Issue/identifying-and-disabling-temporary-ipv6-addresses - A console window is displayed, requesting the Windows Administrator account password for the machine.
Note The dialog does not update to show key presses; You only get one attempt to enter the password.