
Uploading Attachments
You can add an attachment for a single scenario or for an entire app, but uploading the files works in the same way. You can upload up to 250 files per scenario, and each file can be up to 150 MB.
Complete the following steps to upload a file.

|
Note If files are uploaded by someone else when you are working on a scenario, you will be able to see them if you open an attachments dialog box.
|
- Complete one of the following actions:
- Open the App Attachments dialog box using the Action Menu
 icon if you want to add an attachment at the app level.
 - Open the Scenario Attachments dialog box using the scenario's Open Menu
 icon if you want to add an attachment at the scenario level.
The Scenario Attachments dialog box opens showing a list of the current attachments. - Open the App Attachments dialog box using the Action Menu
- Click Upload to open the Upload files dialog box.
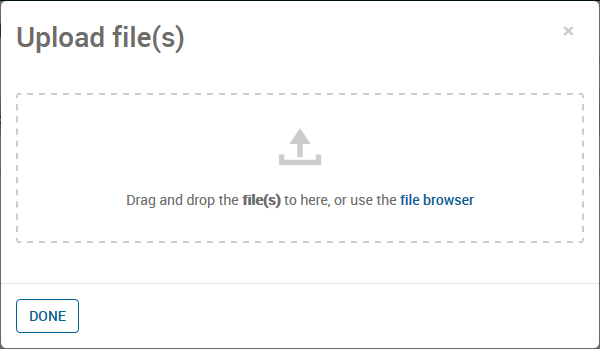
- Upload a file or files.
- To upload one or more files, drag the files onto the dialog box in the area that says, Drag files here to upload, or use the file browser. This works for Firefox, Chrome, and Internet Explorer 11.
- To upload only one file, click file browser to open a dialog box, navigate to and choose one or more files to upload, and click Open.
Note If a file with the same name already exists for the app or scenario, you can choose to overwrite the existing file or rename the file you are uploading. The system renames the file by adding an incremented number to the end of the name if you choose to rename it but do not enter a new name.