
Publishing Workbooks Manually via the Web Client
This option is particularly useful during app development where a workbook can be updated in place without reloading the whole Xpress Insight app.
During the upload process the workbook connection(s) are transformed to reference the mirror database of the target system (that is, the system to which the workbook is being uploaded.)
- Tableau must be enabled for Xpress Insight.
- Tableau must be enabled for the user performing this operation.
- The possible workbooks that can be uploaded correspond to the 'managed' workbooks registered in the companion file. If there is only one 'managed' workbook defined for a given app companion file then this workbook will automatically display; otherwise you can select from the multiple workbooks that show in the drop-down list.
- You must have WORKBOOK_PUBLISH authority to perform this task.
- Be sure that you are on a specific app page from the web client interface.
- Tableau workbook (TWB) and Tableau packaged workbook (TWBX) files can be published via this mechanism.
 Note The contents of the Tableau packaged workbook file is restricted to a Tableau workbook and images.
 - On successful publishing of a workbook, any changes will be available immediately in your web client session.
Note These changes will only appear for other users after they log out and log back in.
- This feature should only be used with workbooks with data source that connect to the Xpress Insight mirror database.
- Any workbooks that contain one or more data sources that do not connect to theXpress Insight mirror database will be rejected and an error message will display.
- From the Xpress Insight web client interface, select the app (that already has workbooks associated with it). For this example, select the FlowShop app and use the pull-down menu to select Publish Workbook.
The following dialog will display. For this example, we will select the FlowShop workbook and publish it as FlowShop.
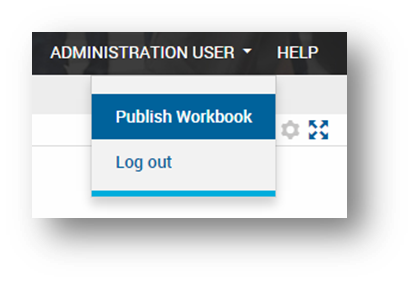
Selecting Publish Workbook
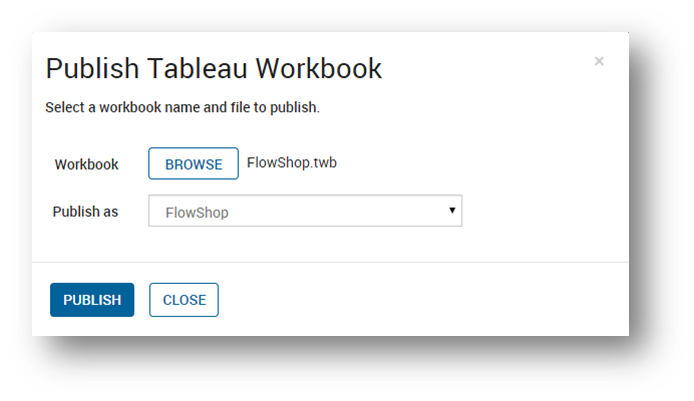
The Publish Dialog
- Click Publish.
The dialog will close and an overlay will be shown indicating that the app is being updated. Once that has completed a success or failure message will be shown at the bottom of the page indicating whether publish was successful or not.
© 2001-2020 Fair Isaac Corporation. All rights reserved. This documentation is the property of Fair Isaac Corporation (“FICO”). Receipt or possession of this documentation does not convey rights to disclose, reproduce, make derivative works, use, or allow others to use it except solely for internal evaluation purposes to determine whether to purchase a license to the software described in this documentation, or as otherwise set forth in a written software license agreement between you and FICO (or a FICO affiliate). Use of this documentation and the software described in it must conform strictly to the foregoing permitted uses, and no other use is permitted.