To install Tableau, you must be logged in to the target Windows machine with full Administrator privileges.
There are four stages to this process:
- Files are extracted to a specified location.
- Tableau for FICO Server is installed.
- Tableau for FICO Server is configured.
- Tableau for FICO is connected to Xpress Insight.
The Tableau installer will extract the required files, then install FICO for Server, then install Tableau for FICO.
|
|
Tip There are two different kinds of accounts used for setting up Tableau Server.
- The Windows (service) account that Tableau Server uses when it accesses resources to run the various processes that make up Server. This is also termed the 'run as' account. This is a user account on the host machine that has full administrator privileges.
- The Tableau Server Administrator account. This is the interactive user account that is used on the Tableau Server Login page to access the administrative capabilities of Tableau Server. This is NOT typically a windows service account, and for security reasons should NOT be the same account as the 'run as' account.
|
|
|
Note We recommend taking a backup of your Tableau files before you upgrade Tableau. If you currently use a version of Tableau prior to 2018.1, Tableau recommend you uninstall that version prior to installing
2019.4—For more, see the
Tableau support site.
|
- Download and copy the appropriate installation bundle to the target machine. Run the Tableau for FICO installer. Choose Setup to unpack and launch the installer.
This installer copies the
Tableau for FICO installer as well as tools to configure it for use with
Xpress Insight. These will remain on your computer once installation has finished, in case you need to adjust your Tableau configuration at a later date.
- Once the Tableau for FICO installer and configuration tools are copied onto your computer, Tableau for FICO itself will be installed if needed. In the InstallShield for Tableau for FICO window, click Next.
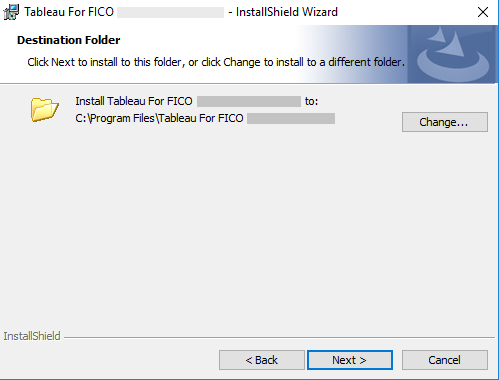
- Select the folder into which Tableau will be installed. Click Next.
- The InstallShield Wizard is now ready to begin the installation. Click Install.
A dialog offers the option to open the
Quick Installation Guide which documents a minimal set of installation steps for a single machine deployment and is an alternative to this full installation guide.
- The next screen reminds you not to reboot if the Tableau for FICO Server install process asks you to. It is necessary to reboot after the whole installation has finished.
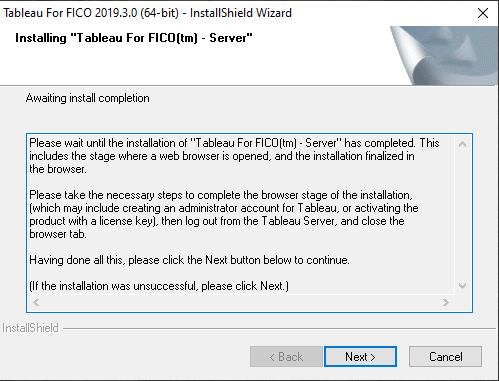
- The following screen is displayed while another process installs Tableau for FICO - Server. Tableau for FICO Server will take several minutes to install. This includes the stage where a web browser is opened, and the installation finalized in the browser.
|
|
Note If the
Tableau for FICO
2019.4 installer encounters an error at this point, click
Next and close the installer. You can then navigate to
C:\Program Files\Tableau For FICO 2019.4.0 (64-bit) and run the .exe file named
TableauServer-2019-3-0-FICO-64bit. You then re-run this installer and select
Modify to continue the installation procedure.
|
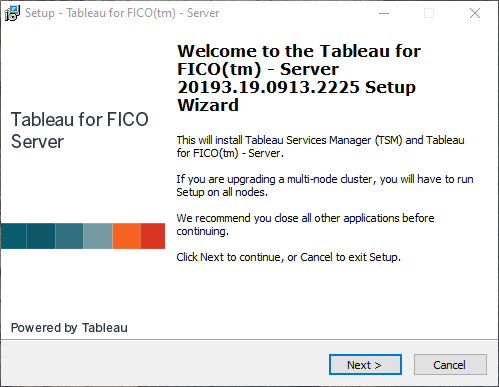
- The Tableau for FICO installer setup opens. Click Next.
- Select the installation location by clicking Browse and navigating to an appropriate folder, or accept the default location by clicking Next.
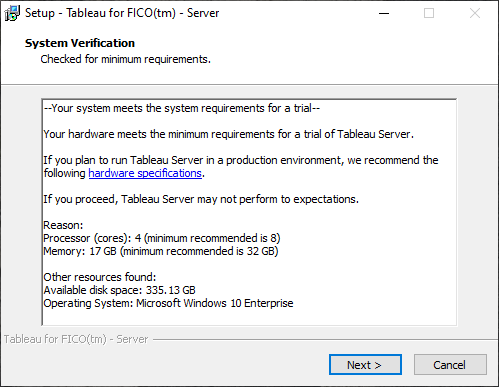
- Each version of Xpress Insight is certified to work with a specific version of Tableau for FICO. The System verification window will display whether your hardware is sufficient to run Tableau. Click Next.
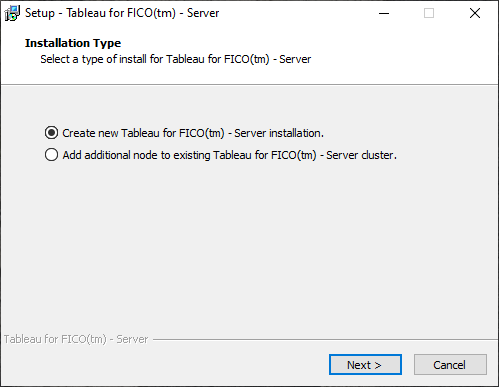
- Select whether the process will create a new Tableau for FICO installation, or if this will be an additional node in an existing cluster to provide fail-over support for the file store and repository processes. For more on distributed tableau servers, see https://onlinehelp.tableau.com/current/server/en-us/distrib_requ.htm.
- Click Install to begin the installation of Tableau for FICO server. The required files are extracted to your hard drive prior to installation. When extraction is finished, click Next.
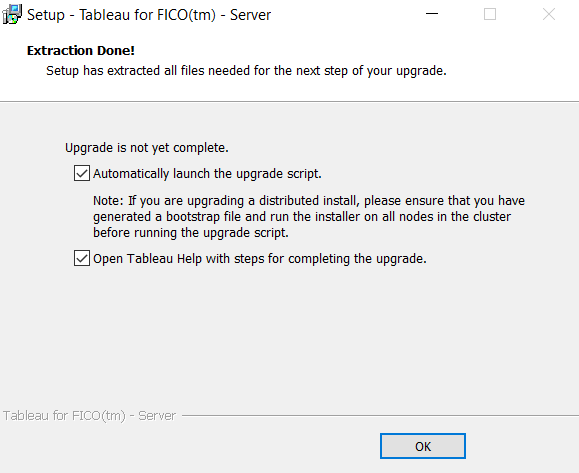
- When all the required files have been extracted, the following dialog may be displayed. Select both check boxes and click OK.
- A command window requesting a password is displayed. Enter the Windows administration account password for the destination machine (service account). This is the password for an account on the host windows machine that has elevated administrator privileges.
The installer runs verification and validation scripts and generates security keys which are then promoted to the configuration. The Tableau Services Manager (TSM) is also installed. The dialog provides some progress feedback.
- When installation is complete, the window will display the upgraded version number. The setup opens a browser window to enable configuration of the Tableau account, where you should create the Tableau administration user account (if one does not already exist.).
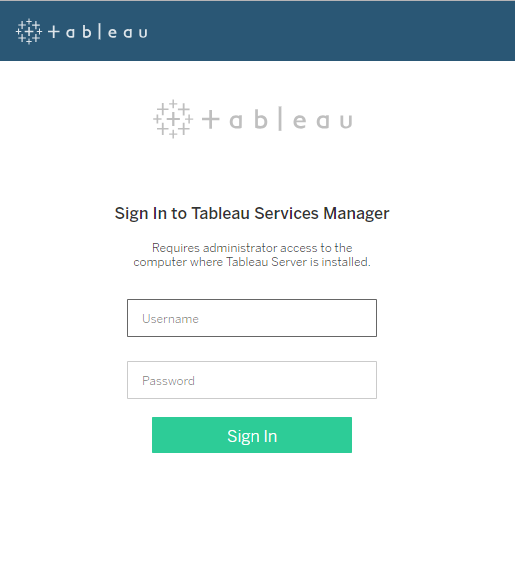
- In the browser—Leave the InstallShield window. Use the browser to log in to Tableau Services Manager and activate the licence, set up users, and configure the connection port. You need Administrator rights for the machine on which Tableau is installed to set these values. This dialog requires the Windows administration account username and password (service account).
|
|
Tip TSM is used to configure the server, and requires an account with administrative privileges on the computer running TSM. This is not the same administration account used by Xpress Insight. The two accounts will be linked at a later point in the installation process.
|
- After you have signed in, you must activate the installation of Tableau. Enter your product key and click Activate. The setup program will connect to Tableau to confirm the licence, then display the result. If you do not have a product key, you can continue as a Trial user.
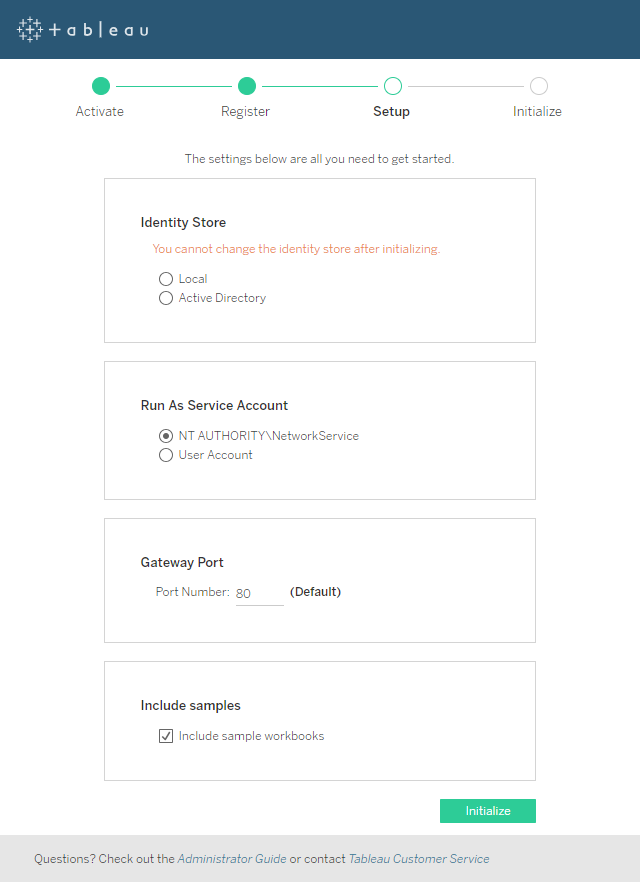
- The next window enables configuration of user management and the connection port. There are four panes:
- Identity Store—The identity store manages Tableau Server accounts. You can configure the identity store to synchronize with an external user store directory (for example, OpenLDAP or Active Directory) or to manage and store accounts on Tableau Server(Local). Choose Local unless you will use Active Directory to authenticate users. For more, see the Tableau website.
- Run As Service Account—Tableau Server must run under a specific Windows account. The default Run As Service Account is a local account on the server. If the server needs access to resources on the network, you should specify a domain user account.
- Gateway Port— Tableau Server defaults to allow web access (via HTTP) on port 80. If the installer detects port 80 is in use when you first install Tableau, an alternate port (for example 8000) is used and displayed in the Port Number box. You may choose to change the port if you have a hardware firewall or proxy in front of the Tableau host.
- Include Samples—Select the checkbox to include sample workbooks.
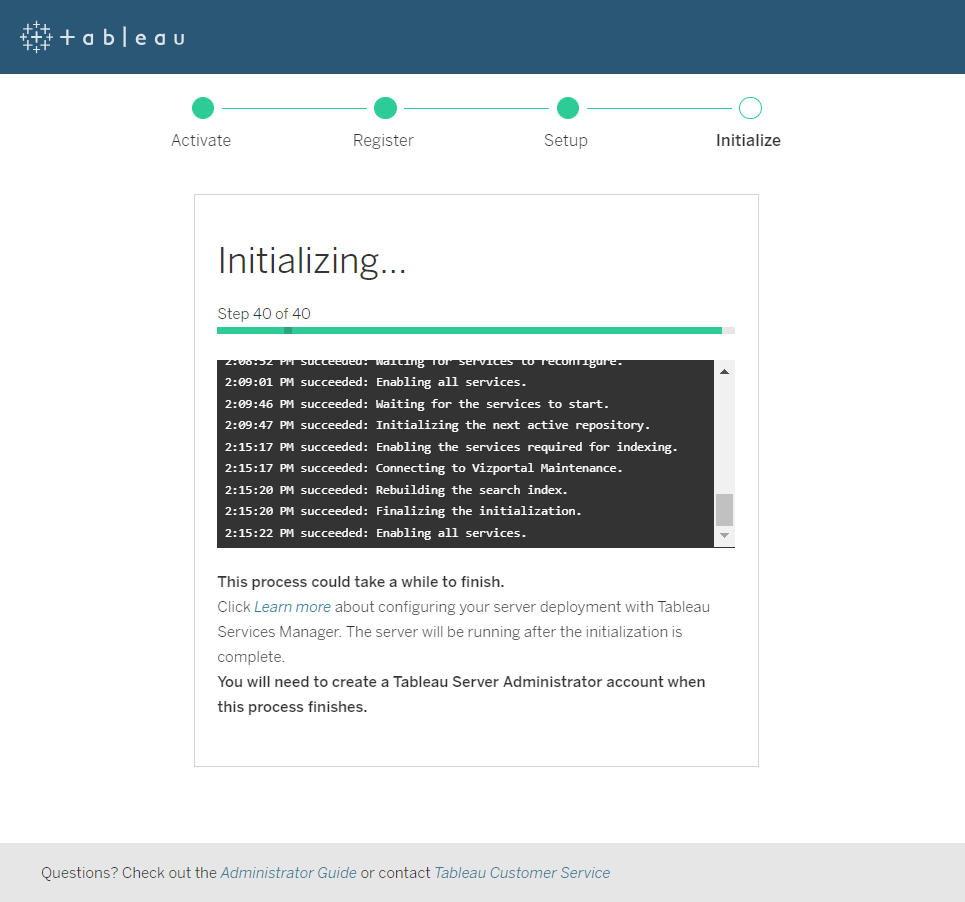
- When you are satisfied with your settings, click Initialize. The initialization process can take a while, the progress window displays the steps as they complete.
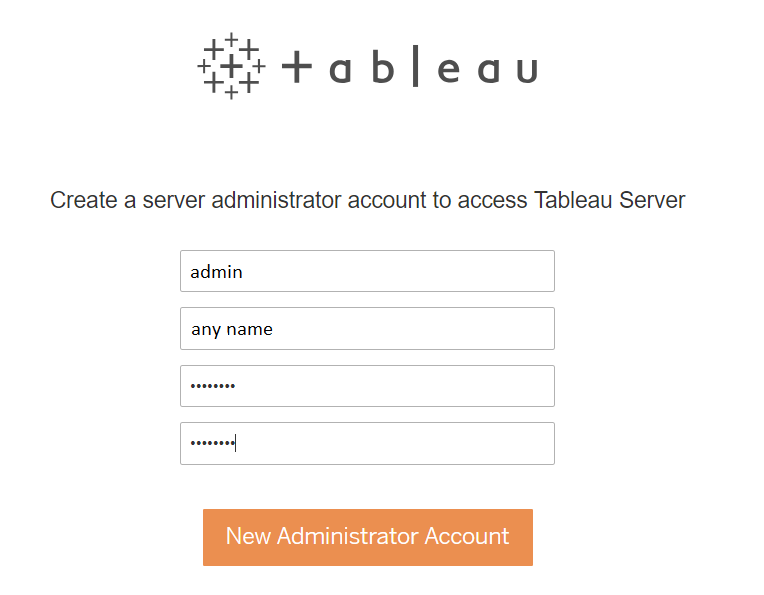
- When the server has been initialized, click Continue to create an Administration account—this is the account on the Tableau server, not an administrator on the host machine—this account accepts the connection from Xpress Insight. In the browser window, create an administrator account with the username admin and the password admin123.
- When the admin account has been created, log out of Tableau and close the browser window.
Return to the
InstallShield dialog.
- Click Next. In the subsequent window, select whether Xpress Insight Server is running on the same computer or not.
If you select separate machines, you will be prompted to enter all the IP addresses of the computer running Xpress Insight Server. These can be collected by running the file XPRESSDIR/insight/server/config/getallips.bat from the Xpress Insight installation. This will open a console window with all the IP addresses of that machine, in a comma-separated list. This can be cut and pasted into (for example) an email or IM chat window, and sent to the Tableau installation.
If the addresses spill over into multiple lines, edit the line breaks out in a text editor before pasting them into the Tableau for FICO installer.
|
|
Note If hostnames are used in place of IP Addresses, be aware that Tableau only supports static IP addresses. If the IPv4 address changes, the Tableau configuration script should be re-run (see below).
|
- A console window is displayed, requesting the Windows Administrator account password for the target machine.
|
|
Note The dialog does not update to show key presses; You only get one attempt to enter the password.
|
- Once the Xpress Insight Server configuration has been determined, Tableau will be configured to use the relevant IP addresses. This will involve automatically restarting the Tableau Server service to make use of the new configuration, which may take a few minutes. The dialog does not display a progress bar, but the process can be monitored in Task Manager.
Any problems at the configuration stage will be shown as output from the process with any error messages that may have been produced, to help diagnose the problem.
- If prompted to reboot at this point, do so.
- The last stage of the Tableau for FICO installation opens a web page where you can create the Tableau administration user account (if it does not already exist). Create the user account before continuing with the rest of the process.
This is the same administration account as used by Xpress Insight. The two accounts will be linked.
© 2001-2020 Fair Isaac Corporation. All rights reserved. This documentation is the
property of Fair Isaac Corporation (“FICO”). Receipt or possession of this documentation does not
convey rights to disclose, reproduce, make derivative works, use, or allow others to use it except
solely for internal evaluation purposes to determine whether to purchase a license to the software
described in this documentation, or as otherwise set forth in a written software license agreement
between you and FICO (or a FICO affiliate). Use of this documentation and the software described in
it must conform strictly to the foregoing permitted uses, and no other use is permitted.


