Perform the following steps to begin creating the user interface.
To create a new View using
Xpress Workbench 3.1 or higher:
- Click Open Project.
- Either:
- Click File > New > Insight View (VDL).
- Click the New View button on the tab bar.

New View button
- In the Xpress Insight tab, click Views > VDL View.
- Proceed through each page of the New View wizard.
- In the first wizard page, enter an appropriate text string in the View Title field—This text is displayed as the view label by Insight and sets the default value for the Filename. Click Next to proceed.
- The second wizard page enables you to select a page layout: the options are a Basic view, Two columns, or Three columns. Click Next.
- In the final wizard page, select from the following options:
| Menu option |
Definition |
| Requires Scenario To Be Loaded: |
This option is enabled by default-It can be disabled if you are creating a view containing static introductory information, or a view used to configure how scenarios are loaded. |
| Set As Default View: |
The view will be displayed in the Xpress Insight web client when a scenario selected-This will replace any view previously set as default view in your app. |
| Default When No Scenarios Selected: |
The view will be displayed by default until a Scenario is selected. |
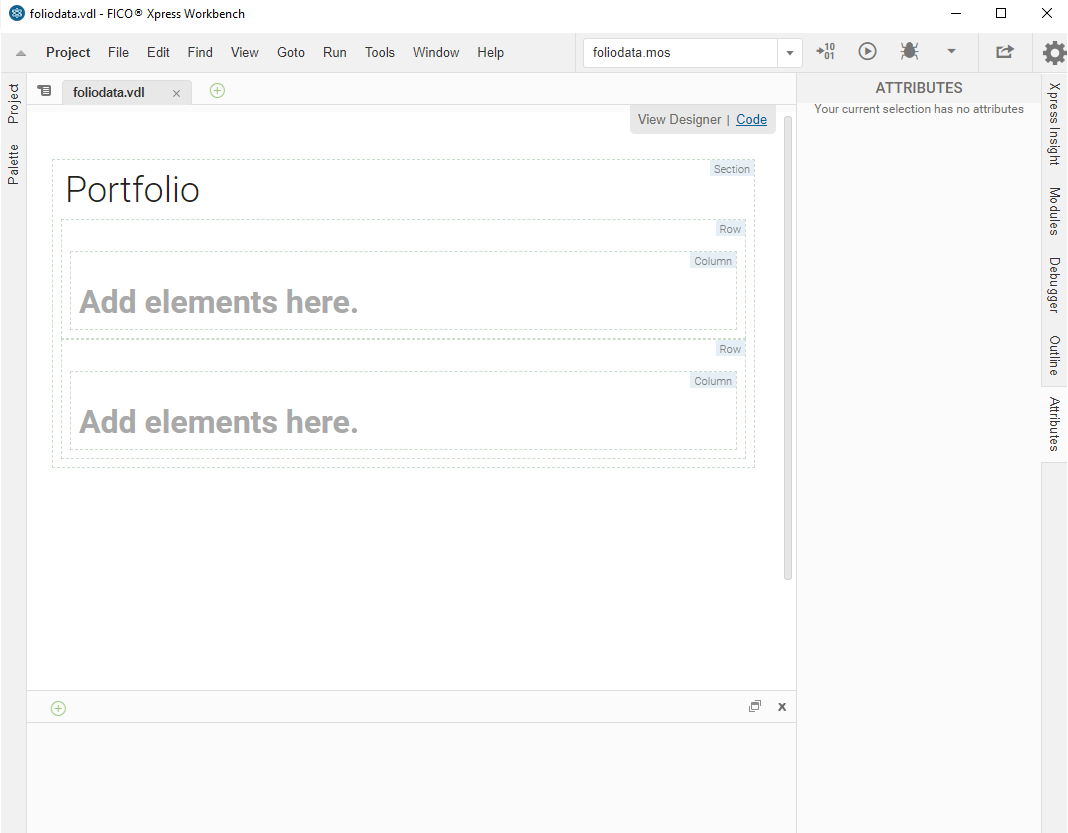
- Click FINISH. The new view is displayed on the artboard.
- If desired, switch to the code editor view using the link at the top right of the artboard.