
Install Tableau Server on Windows
If you are installing Tableau Server on the target machine for the first time, it will take several minutes to install.

|
Tip: There are two different kinds of accounts used for setting up
Tableau Server.
|
After the Tableau Server installer completes, run Tableau for FICO (v2021.1 and later) configuration for Xpress Insight.exe. If you already have Tableau Server installed, go straight to the later topic Configuring Tableau for FICO for Xpress Insight on Windows.
- The Tableau installer will display a browser window to allow you to log in to Tableau Services Manager and activate the licence, set up users, and configure the connection port. You need Administrator rights for the machine on which Tableau Server is installed to set these values. This dialog requires the Windows administration account username and password (service account).
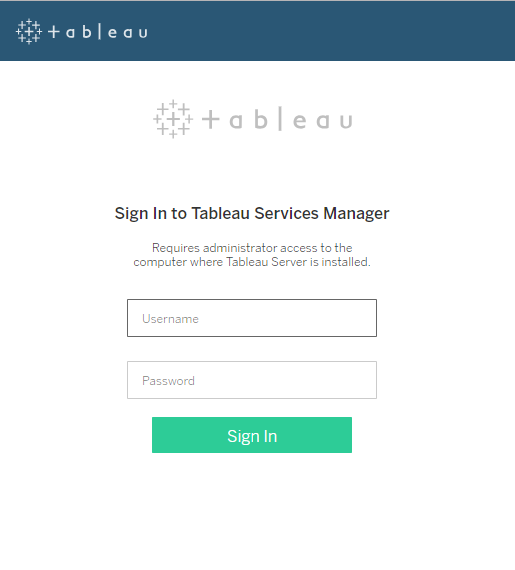 Tip: TSM is used to configure the server, and requires an account with administrative privileges on the computer running TSM. This is not the same administration account used by Xpress Insight. The two accounts will be linked at a later point in the installation process.
 - The next window enables configuration of user management and the connection port. There are four panes:
- Identity Store—The identity store manages Tableau Server accounts. You can configure the identity store to synchronize with an external user store directory (for example, OpenLDAP or Active Directory) or to manage and store accounts on Tableau Server(Local). Choose Local unless you will use Active Directory to authenticate users. For more, see the Tableau website.
- Run As Service Account—Tableau Server must run under a specific Windows account. The default Run As Service Account is a local account on the server. If the server needs access to resources on the network, you should specify a domain user account.
- Gateway Port— Tableau Server defaults to allow web access (via HTTP) on port 80. If the installer detects port 80 is in use when you first install Tableau Server, an alternate port (for example 8000) is used and displayed in the Port Number box. You may choose to change the port if you have a hardware firewall or proxy in front of the Tableau host.
- Include Samples—Select the checkbox to include sample workbooks.
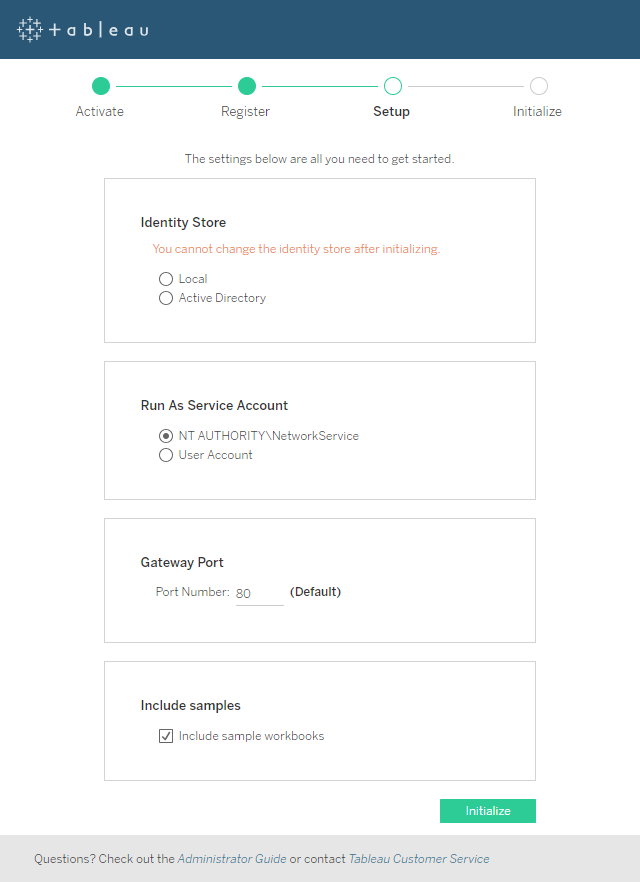
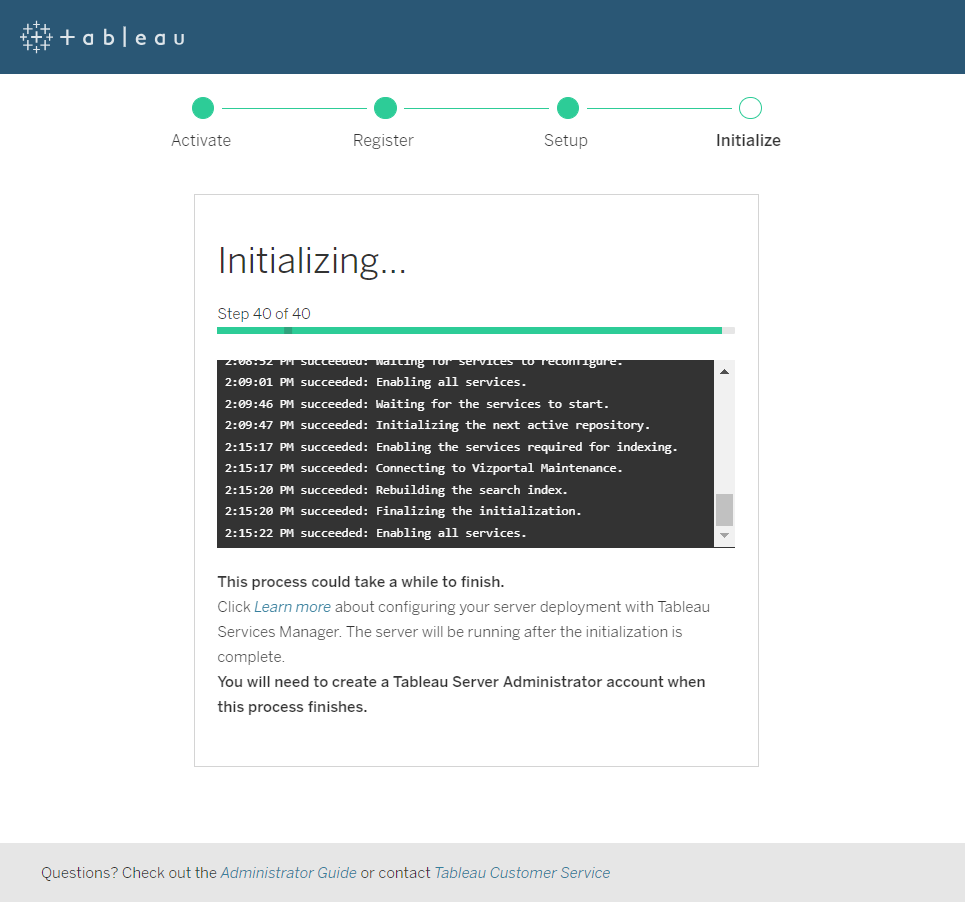
- When you are satisfied with your settings, click Initialize. The initialization process can take a while, the progress window displays the steps as they complete.
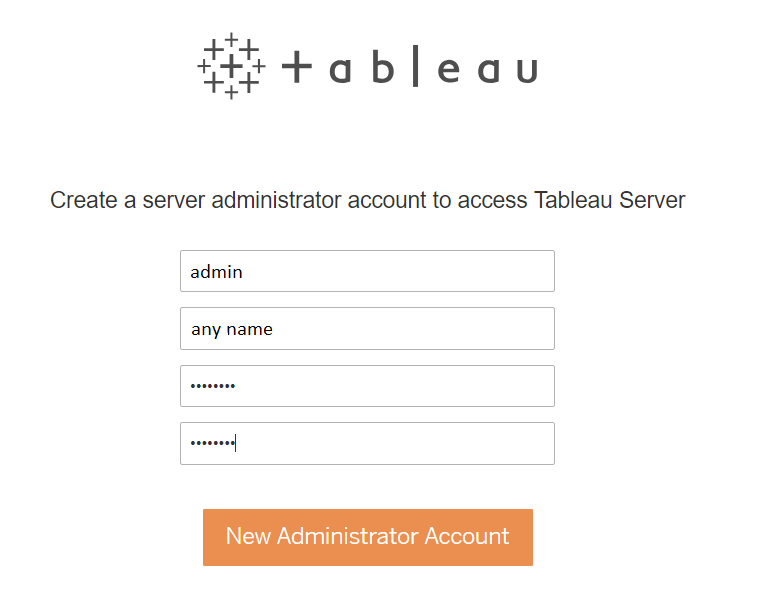
- When the server has been initialized, click Continue to create an Administration account—this is the account on Tableau Server, not an administrator on the host machine—this account accepts the connection from Xpress Insight. In the browser window, create an administrator account with the username admin and the password admin123.
© 2001-2022 Fair Isaac Corporation. All rights reserved. This documentation is the property of Fair Isaac Corporation (“FICO”). Receipt or possession of this documentation does not convey rights to disclose, reproduce, make derivative works, use, or allow others to use it except solely for internal evaluation purposes to determine whether to purchase a license to the software described in this documentation, or as otherwise set forth in a written software license agreement between you and FICO (or a FICO affiliate). Use of this documentation and the software described in it must conform strictly to the foregoing permitted uses, and no other use is permitted.