The following instructions describe how to create a new workbook in Tableau Desktop, connect to the database, and specify the table or view to be used by Xpress Insight.
Open Tableau and create a workbook.
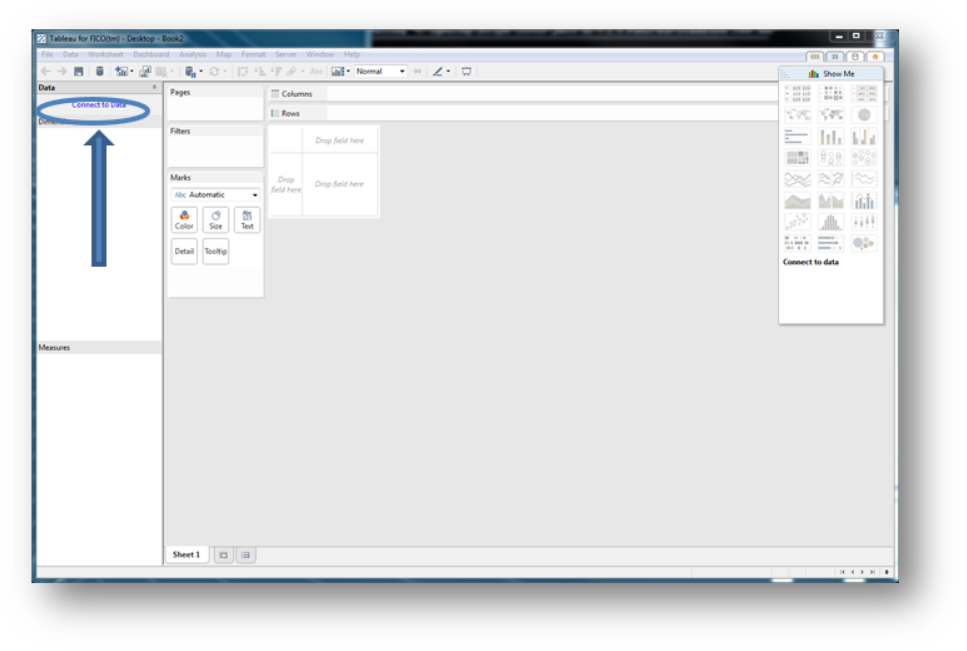
Click File > New to display the following screen:
Creating a Tableau Workbook
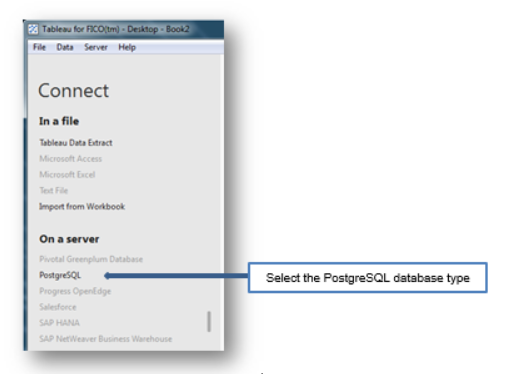
Click Connect to Data. To generate a datasource for this workbook, click PostgreSQL, which is the database type used by Xpress Insight.
Creating a Datasource
You can instead use a data source configured in the companion file which is already published to Xpress Insight.
To use a published data source, click Tableau Server (rather than PostgreSQL) and select the datasource from the list. Skip to step 11.
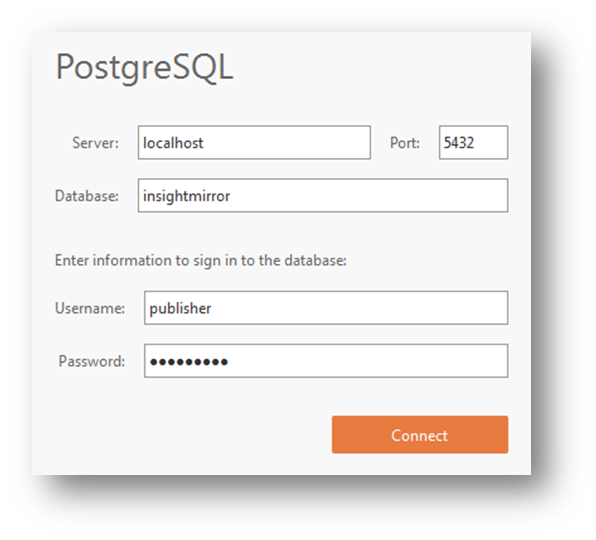
From the PostgreSQL Connection form, enter the name of the server where the Xpress Insight server is installed (the default is localhost) and database (insightmirror), and the username and password. The publisher user account should be used in this circumstance. Be sure to check with your administrator if you do not have this information.
Specifying PostgreSQL Details
Click Connect.
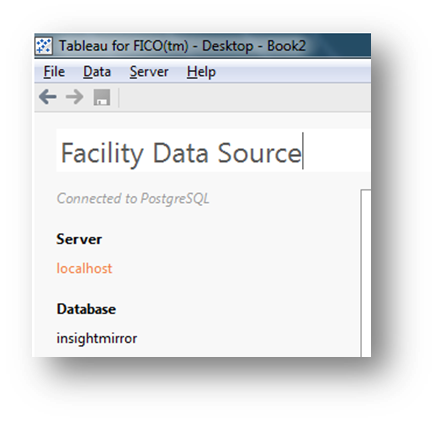
Change the connection name to Facility Data Source.
Editing the Connection Name
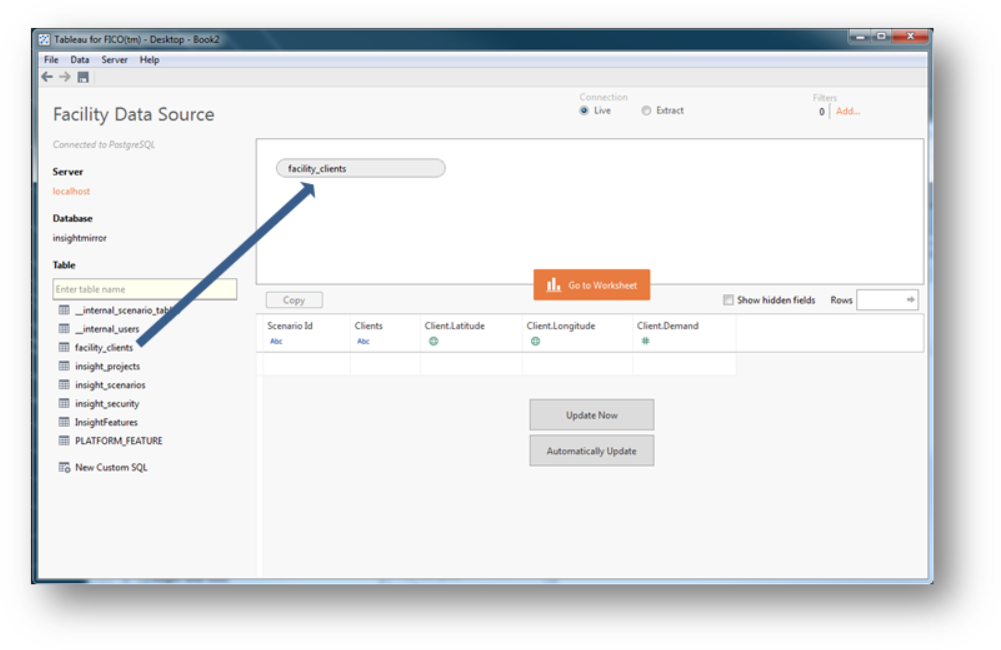
Drag the facility_clients table into the query designer.
Using the Query Designer
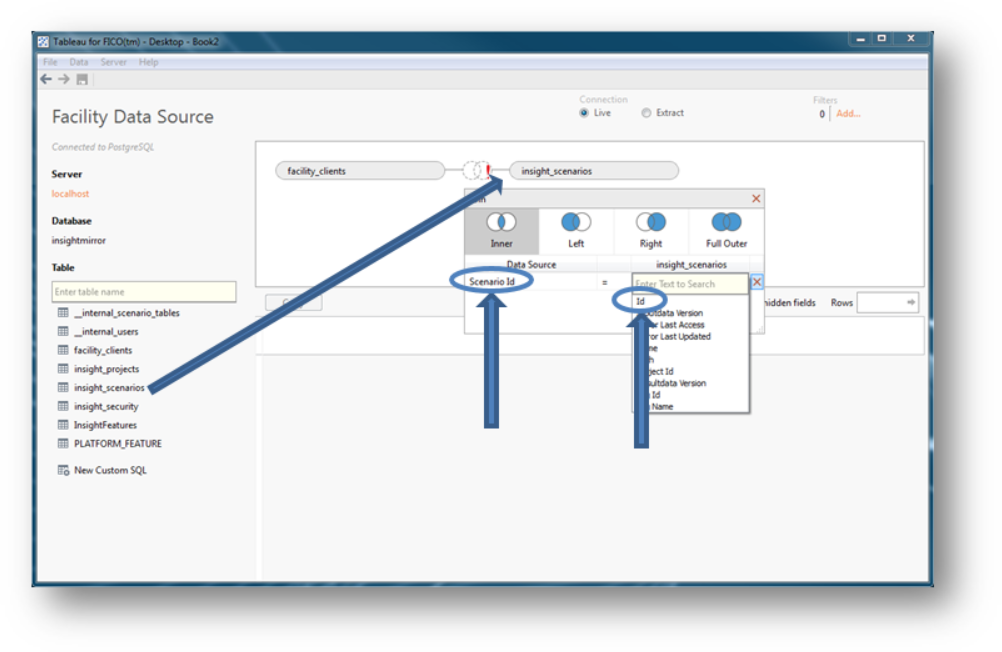
D rag insight_scenarios into the query designer and select Scenario Id as the Data Source join and Id as the insight_scenarios join.
Creating a Join
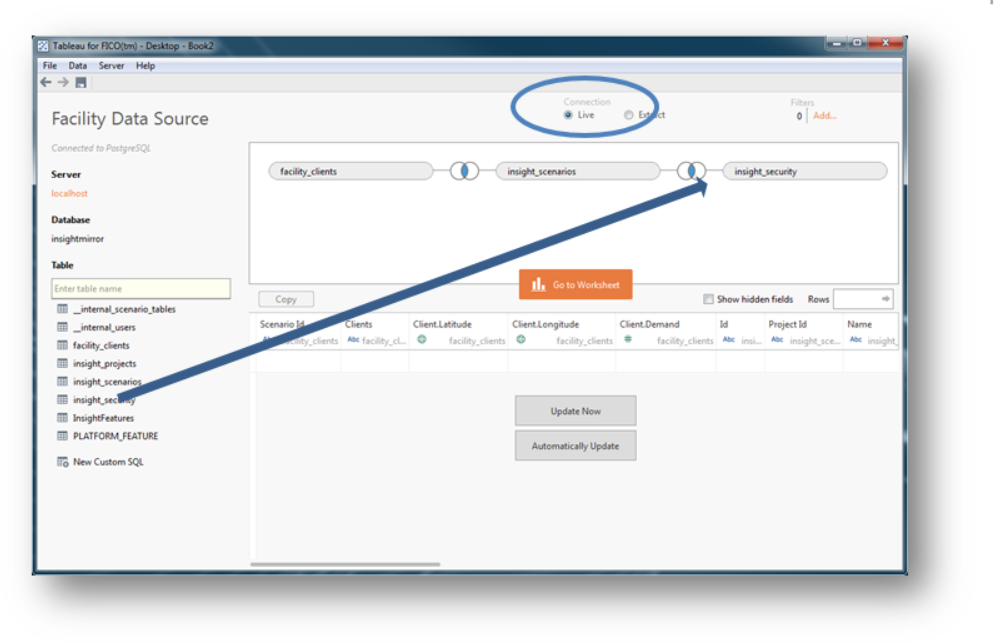
To secure the workbook drag the insight_security table into the query designer. The join is automatically established.
Securing the Workbook
Ensure the Live Connection option is selected and verify the data source by clicking the Update Now button.
Important: Be sure to always choose the
Live connection option to ensure that the Tableau view always shows live data from the mirror and not cached data.
Note: The
scenario_id and
insight_security table filters must be added to Tableau views to ensure correct behavior when used within
Xpress Insight. The
scenario_id filter restricts the workbook to show only the scenarios selected by the user. The security filters ensure the workbook only contains data that the user is authorized to view.
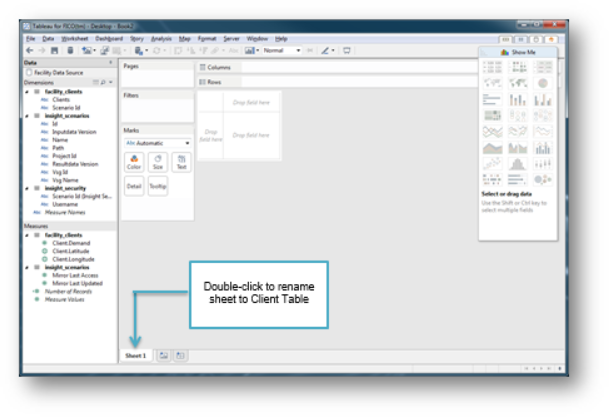
After you have selected how you want to connect to your data, click Go to Worksheet and the Tableau workbook displays as shown in the following example. Rename the Sheet 1 tab to Clients Table by double-clicking on the Sheet 1 tab.
Renaming the Worksheet
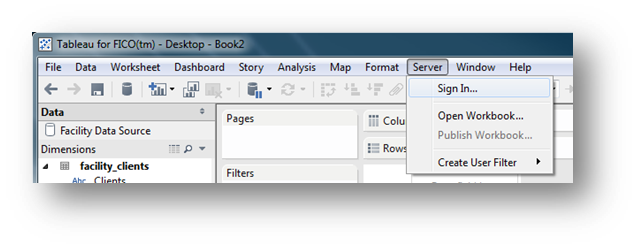
Apply the user security filter onto the data source. First sign into Tableau server by selecting the menu option Server - Sign in.
Signing in to the Tableau Server
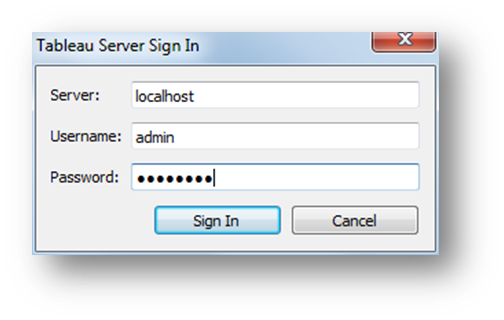
And enter the name of the Tableau server and credentials that have publish rights to Tableau server.
Entering Credentials
Note: This step is optional but is recommended as it gives Tableau a user context and allows the user to see the data as seen by this user. This is useful when testing the data source.
Note: The user account should be one that is currently associated to an
Xpress Insight user. The
Xpress Insight user should have access to the app the Tableau data source is defined for, and the ability to run one or more scenarios for the app.
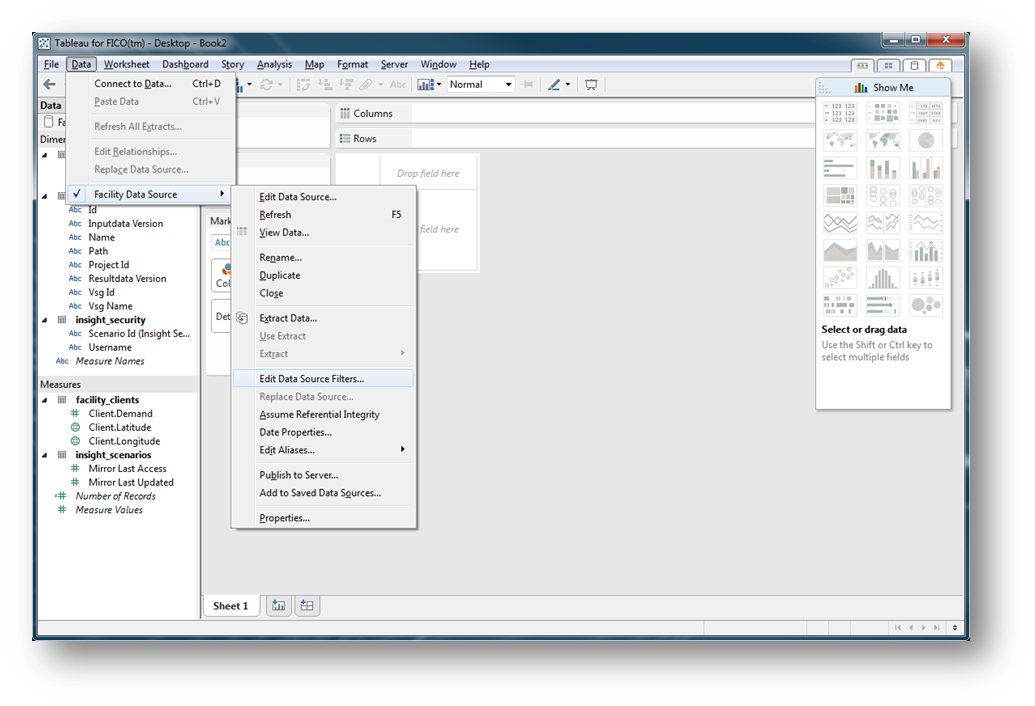
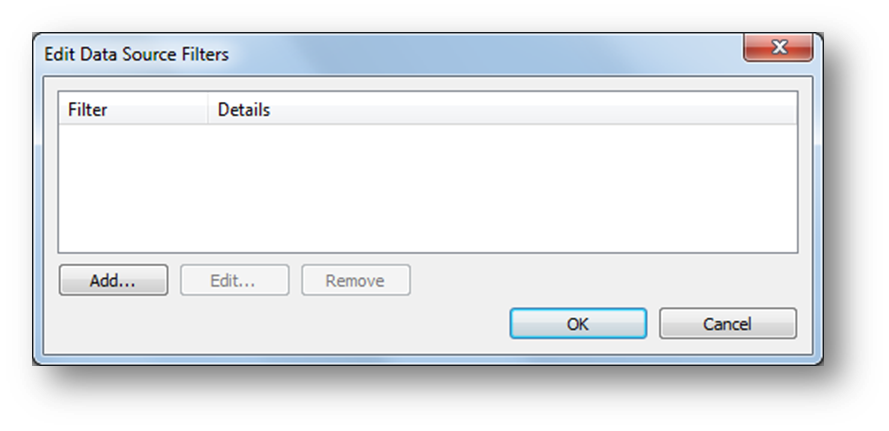
Select the menu option Data > Facility Data SourceEdit Data Source Filters.
Selecting 'Edit Data Source Filters'
Click Add.
Adding a Data Source Filter
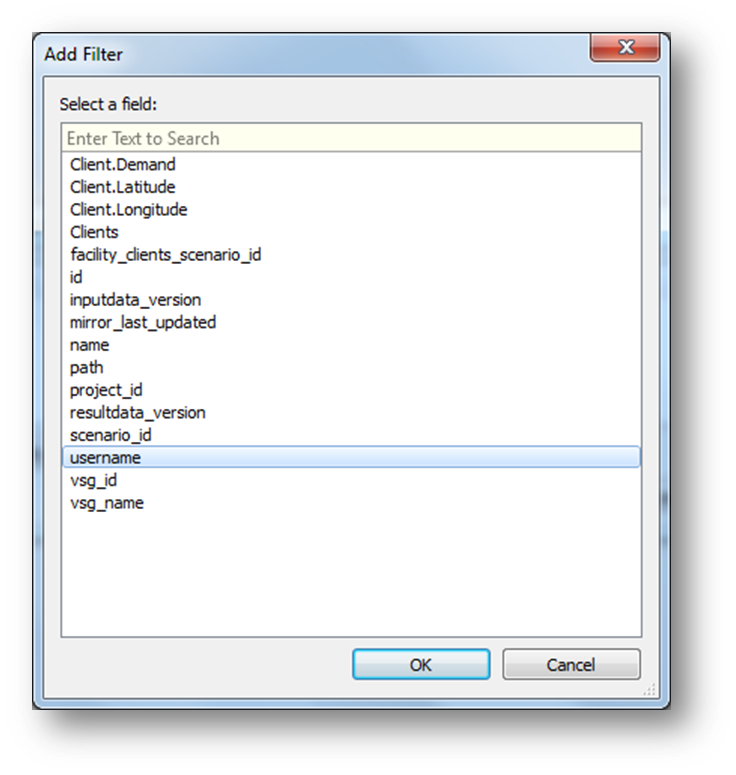
Select username then click OK.
Associating the Filter with
username
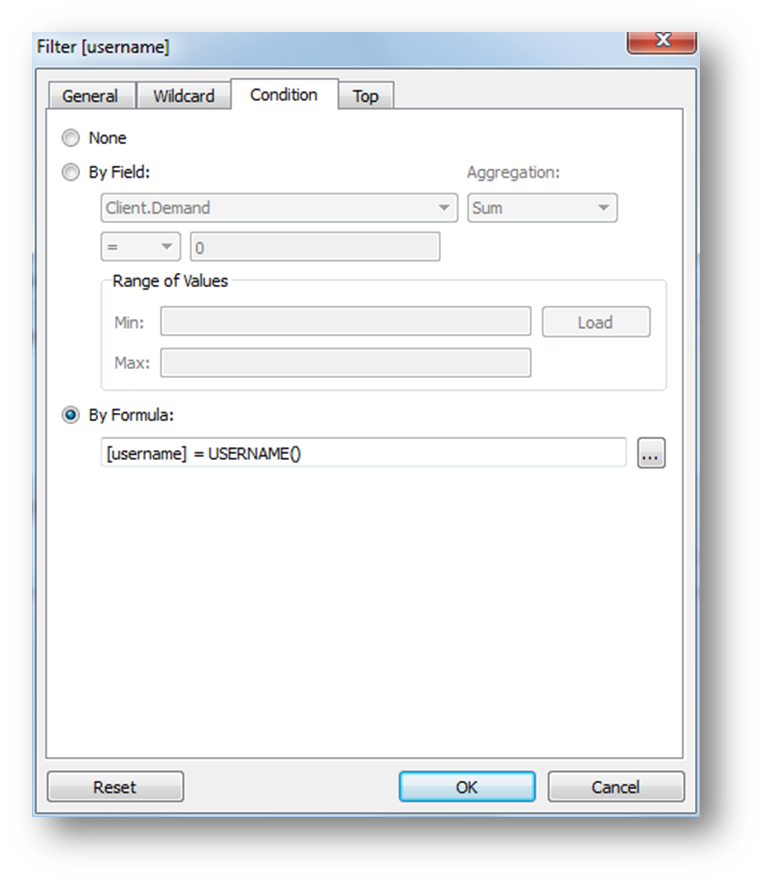
Click on the radio button located next to the By formula label and then enter the following formula into the field.
[username] = USERNAME()
Entering the Filter Formula
Click OK.
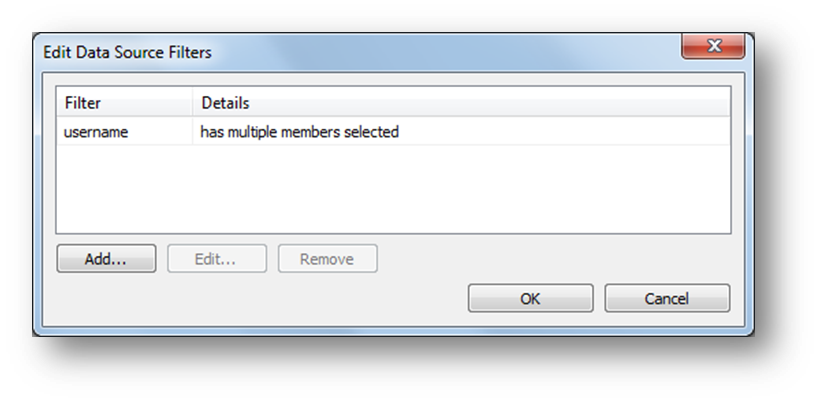
Data Source Filter has been Added
Note: When using the Tableau
Viz in Tooltip feature, available in Tableau 10.5 onwards, the scenario id filter will not be automatically applied to the tool tip view. It is recommended that you use the same data source in both views and use the right-click context menu on the scenario id
Apply to Worksheets -
All Using This Data Source or
Selected Worksheets to include the tooltip view. If this is not possible, then the tooltip view should use data blending to link in the data source from the view you want the tooltip to be used on and then use
Apply to Worksheets to apply the filter.
Note: Tableau changed the version naming format after 10.5 to use year of issue and incremental version, starting with
2018.1.

 Important: Be sure to always choose the Live connection option to ensure that the Tableau view always shows live data from the mirror and not cached data.
 Note: The