Starting up Xpress Workbench and creating a new model
We shall develop and execute our Mosel model with the graphical environment Xpress Workbench. If you have followed the standard installation procedure for Xpress, start the program;
- In Windows, either double click the Workbench icon
 on the desktop or select Start » FICO » Xpress Workbench. Alternatively, you can start Workbench by typing xpworkbench at the command prompt.
 - On macOS, you may have created a shortcut during the installation by dragging the Workbench icon
 to the Dock. Otherwise, type 'Workbench' into Spotlight, or open Applications » FICO Xpress and double click the Xpress Workbench icon.

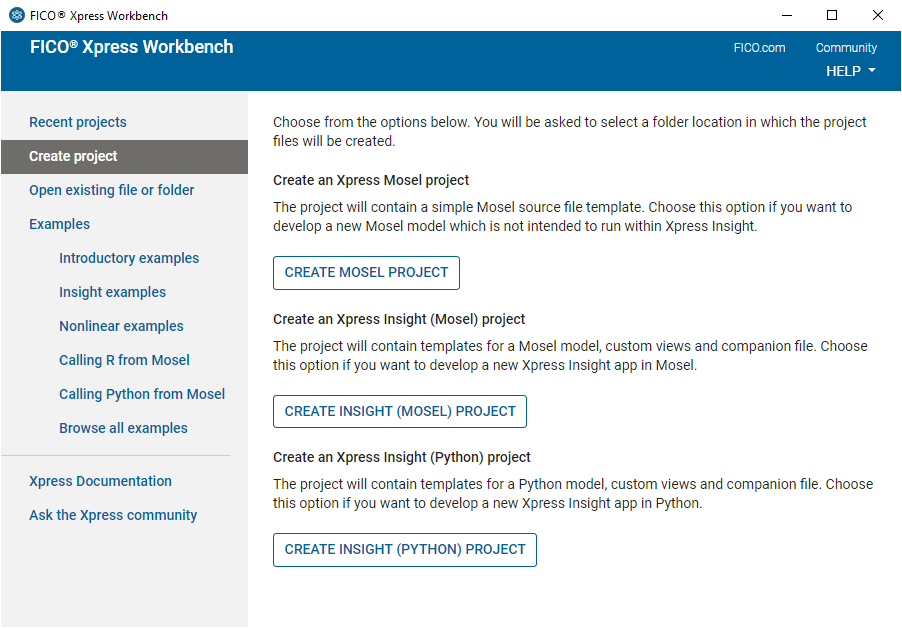
Figure 4.1: Workbench at startup
If you start Workbench without selecting a Mosel model, a screen is displayed to allow you to create a new project. Select the option Create Mosel Project. You will be prompted for location where to create the project. Browse to the desired location, then select the button Make New Folder and enter the name Folio. After confirming with OK you will see the welcome page of the Workbench workspace.

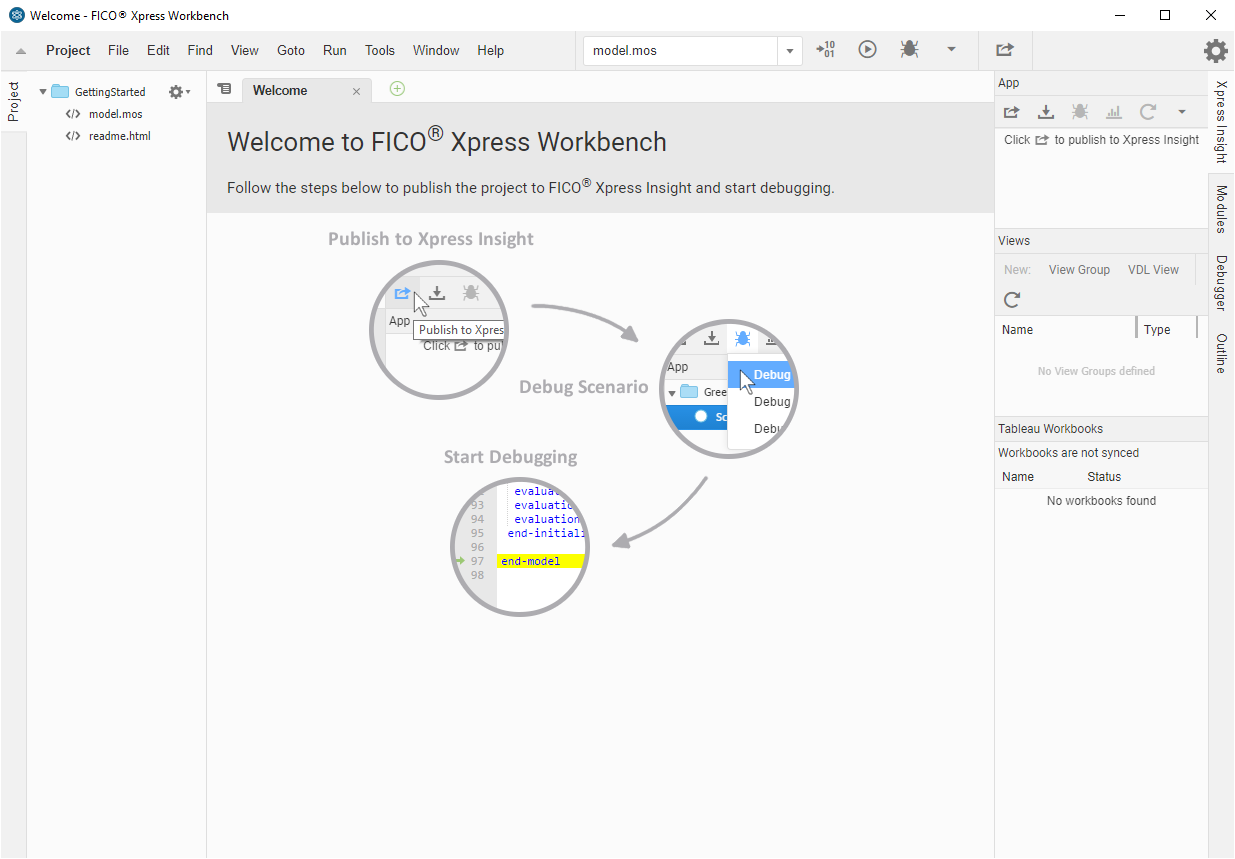
Figure 4.2: Workbench welcome page
Note: If you start Workbench by opening a model file, it is shown in the central editor window and the directory listing on the left displays all files in the same location.
The Xpress Workbench workspace window is subdivided into several panes:
At the top, we have the menu and tool bars. The central area is the editor window where the working file is displayed. A logging window is displayed during model execution below the editor. The window on the left is the project navigation and command history, and the right window contains the Modules, Debugger and Xpress Insight panes. You may configure which windows are displayed via the Window menu.
To create a new model file select File » New » Mosel File.
Alternatively, double click on the template file model.mos in the directory listing on the left to open it in the central editor window. Select File » Save As... and enter foliolp.mos as the name of the new file. Click Save to confirm your choice.
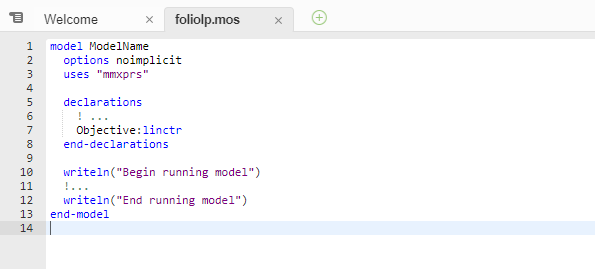
The central window of Workbench is now ready for you to enter the model into the displayed model input template.

Figure 4.3: Mosel model template
© 2001-2025 Fair Isaac Corporation. All rights reserved. This documentation is the property of Fair Isaac Corporation (“FICO”). Receipt or possession of this documentation does not convey rights to disclose, reproduce, make derivative works, use, or allow others to use it except solely for internal evaluation purposes to determine whether to purchase a license to the software described in this documentation, or as otherwise set forth in a written software license agreement between you and FICO (or a FICO affiliate). Use of this documentation and the software described in it must conform strictly to the foregoing permitted uses, and no other use is permitted.

