Managing Components
Deploying a Component
Components are available for deployment as an archetype in the CATALOG. These are added to your Solution.

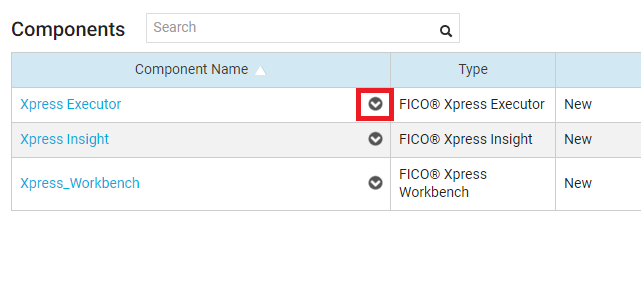
Either click the Component Name or select the down arrow to display the menu, then select Configure. In the Configure Components window, click Launch Xpress Workbench to open the published component.
Use the drop-down menu available from the icon next to the Component Name to modify the Component settings.
| Configure | Launch the Xpress Workbench Component. |
| View Links | Displays the web links used logging in, or when connecting to a selected environment via SOAP or REST. |
| Edit Properties | Change the Name or Description assigned to the Component. |
| Publish | Links in this menu item enable management of the development life cycle, you can Submit , Change Status , and Deploy the Component. |
| Manage Team | Administer which platform users have access to the Component. For more see Managing Team Members in the Component. Administer the permissions a user has when using a Component, see Set the Team Members Component Role for more. |
| Upgrade | This option is available if an updated version of the Component is available in the Catalog. You will also see an Upgrade icon next to the Component name in your Solution. Component upgrades cannot be rolled back, ensure you fully test the upgrade using your data before upgrading your live environment. |
| View History | Display the changes made to the Component. Click this link at any time to see which version of the Component is in which environment, and when new versions were created. |
| View Documentation | Links to the online version of the Xpress Workbench Documentation. |
| Delete | Components can be removed from a Solution. |
Deleting a Component
You may need to delete a Component after it has successfully been exported and imported into a new target environment.
- Use the drop-down menu available from the icon next to the Component name and select Delete.
- Confirm the deletion in the dialog box, click DELETE.
Importing a Component
The target environment must be specified when a Component is exported. Previously exported Components can be imported into the correct target environment.
Exporting a Component
You may export a component to migrate it between development environments or to create a back-up copy prior to development.
- Use the drop-down menu available from the icon next to the Component name and select Export.
- In the dialog, select from the following:
- Whether to export the Component including the data used in the component, or just the Configuration Only.
- The Environment from which the component will be exported — This setting is important during the development cycle to ensure the correct version of the component is migrated.
- The Target environment — This value will be added to the exported file to ensure the export is correctly configured.
- Click EXPORT.
Renaming a Component
Each component added to a Solution can be given a unique name. This is applicable if there are multiple instances of a component deployed to the same Solution.
- Use the drop-down menu available from the icon next to the Component name and select Edit Properties.
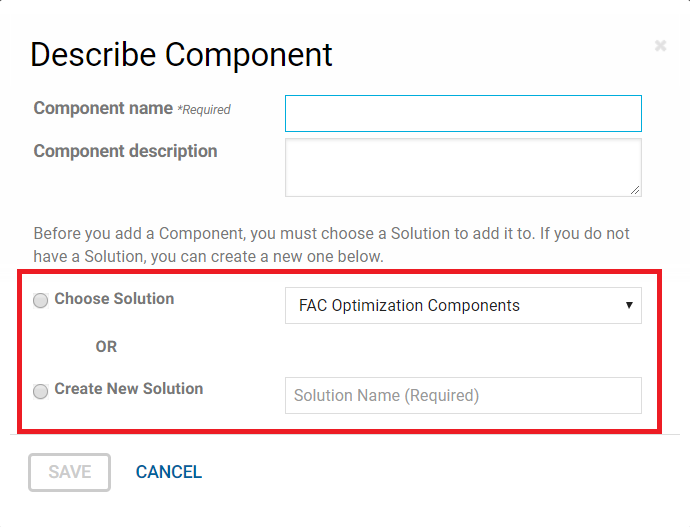
- In the Describe Component dialog, edit the Component Name field and click SAVE.
© 2001-2025 Fair Isaac Corporation. All rights reserved. This documentation is the property of Fair Isaac Corporation (“FICO”). Receipt or possession of this documentation does not convey rights to disclose, reproduce, make derivative works, use, or allow others to use it except solely for internal evaluation purposes to determine whether to purchase a license to the software described in this documentation, or as otherwise set forth in a written software license agreement between you and FICO (or a FICO affiliate). Use of this documentation and the software described in it must conform strictly to the foregoing permitted uses, and no other use is permitted.


