
Installing the FICO Xpress Insight Server
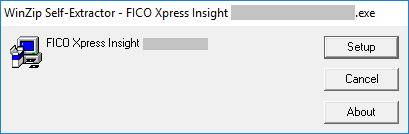
- Double click the downloaded installer file and in the resulting WinZip Self-Extractor window, click Setup.
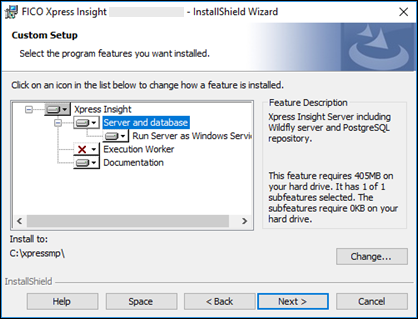
- It is possible for all components of an Xpress Insight installation to run on the same machine. However, deploying the Insight Server, Tableau Server, and one or more execution workers on separate machines is a more likely production configuration. If you plan to install the execution worker on a separate machine, deselect the Execution Worker feature, and run the installer again on the separate machine, selecting just the Execution Worker option, for more see Installing the Xpress Insight Execution Worker on Windows. Otherwise select both the Server and database and the Execution Worker features.
 If Xpress Insight Server cannot locate a suitable license on the host machine, which would provide full access to all the available features, Insight will revert to Community Licence mode—this is evidenced by the Community Licence banner on the Insight landing page. This mode disables remote server access and access to the admin pages.
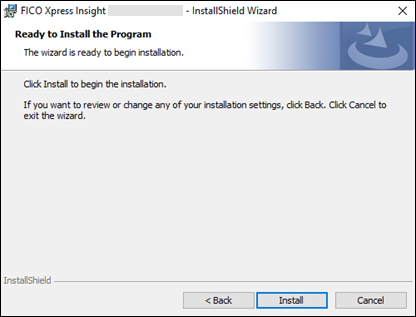
 - Click Install.
The system displays a message stating either Java cannot be found, or you have the wrong version installed. Click OK. The subsequent dialog prompts you to locate your Java installation. Navigate to the Java bin sub-folder and select it.
If the installer detects an existing database, you will be asked whether this database should be retained and upgraded.
 Important In this case, you will be asked if you want to back up your data before the upgrade. This is recommended in general (unless you have already taken steps to ensure the safety of your data through other means), but in the particular case that you are upgrading from a version of Xpress Insight older than 4.7.2, it is strongly recommended that you back up your data because at this point, the database format changed and the migration between versions is more complex than normal.A progress page is displayed. During the installation, a command window is also displayed to show the PostgreSQL database installation.
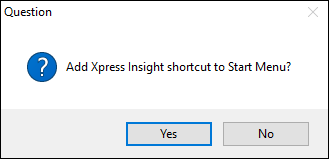
 - Click Yes to add Xpress Insight to the Start menu.
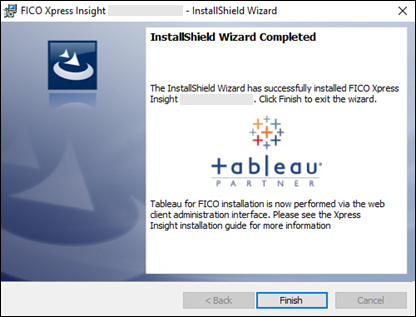
- Click Finish to complete the installation.
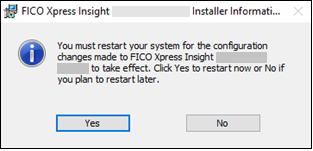
- After the installation you may see the following dialog. Click the appropriate response.
© 2001-2020 Fair Isaac Corporation. All rights reserved. This documentation is the property of Fair Isaac Corporation (“FICO”). Receipt or possession of this documentation does not convey rights to disclose, reproduce, make derivative works, use, or allow others to use it except solely for internal evaluation purposes to determine whether to purchase a license to the software described in this documentation, or as otherwise set forth in a written software license agreement between you and FICO (or a FICO affiliate). Use of this documentation and the software described in it must conform strictly to the foregoing permitted uses, and no other use is permitted.